Having high-quality tasteful photos for your salon is important. It’s a way for you to show your portfolio, whether you’re a nail tech, hair stylist, aesthetician, etc. Gorgeous photos can help boost your brand’s image on social media and used in marketing materials.
If you want to capture the attention of current and potential clients, then you will need to fill their feeds with your photos. Give them a reason to be interested and show them what you can do.
This guide will show you how to take better photos for your salon. You don’t need to spend hundreds of dollars or hire a professional photographer because, with a few simple tricks, you’ll be able to do everything yourself.
What Type of Photos to Take for Your Salon?
Depending on the brand image you’ve created for yourself, there are different types of photos you can take for your salon. They’re all similar to one another but have different purposes. We recommend a combination of all four to stylize your social media feeds and website.
Photos of Your Work
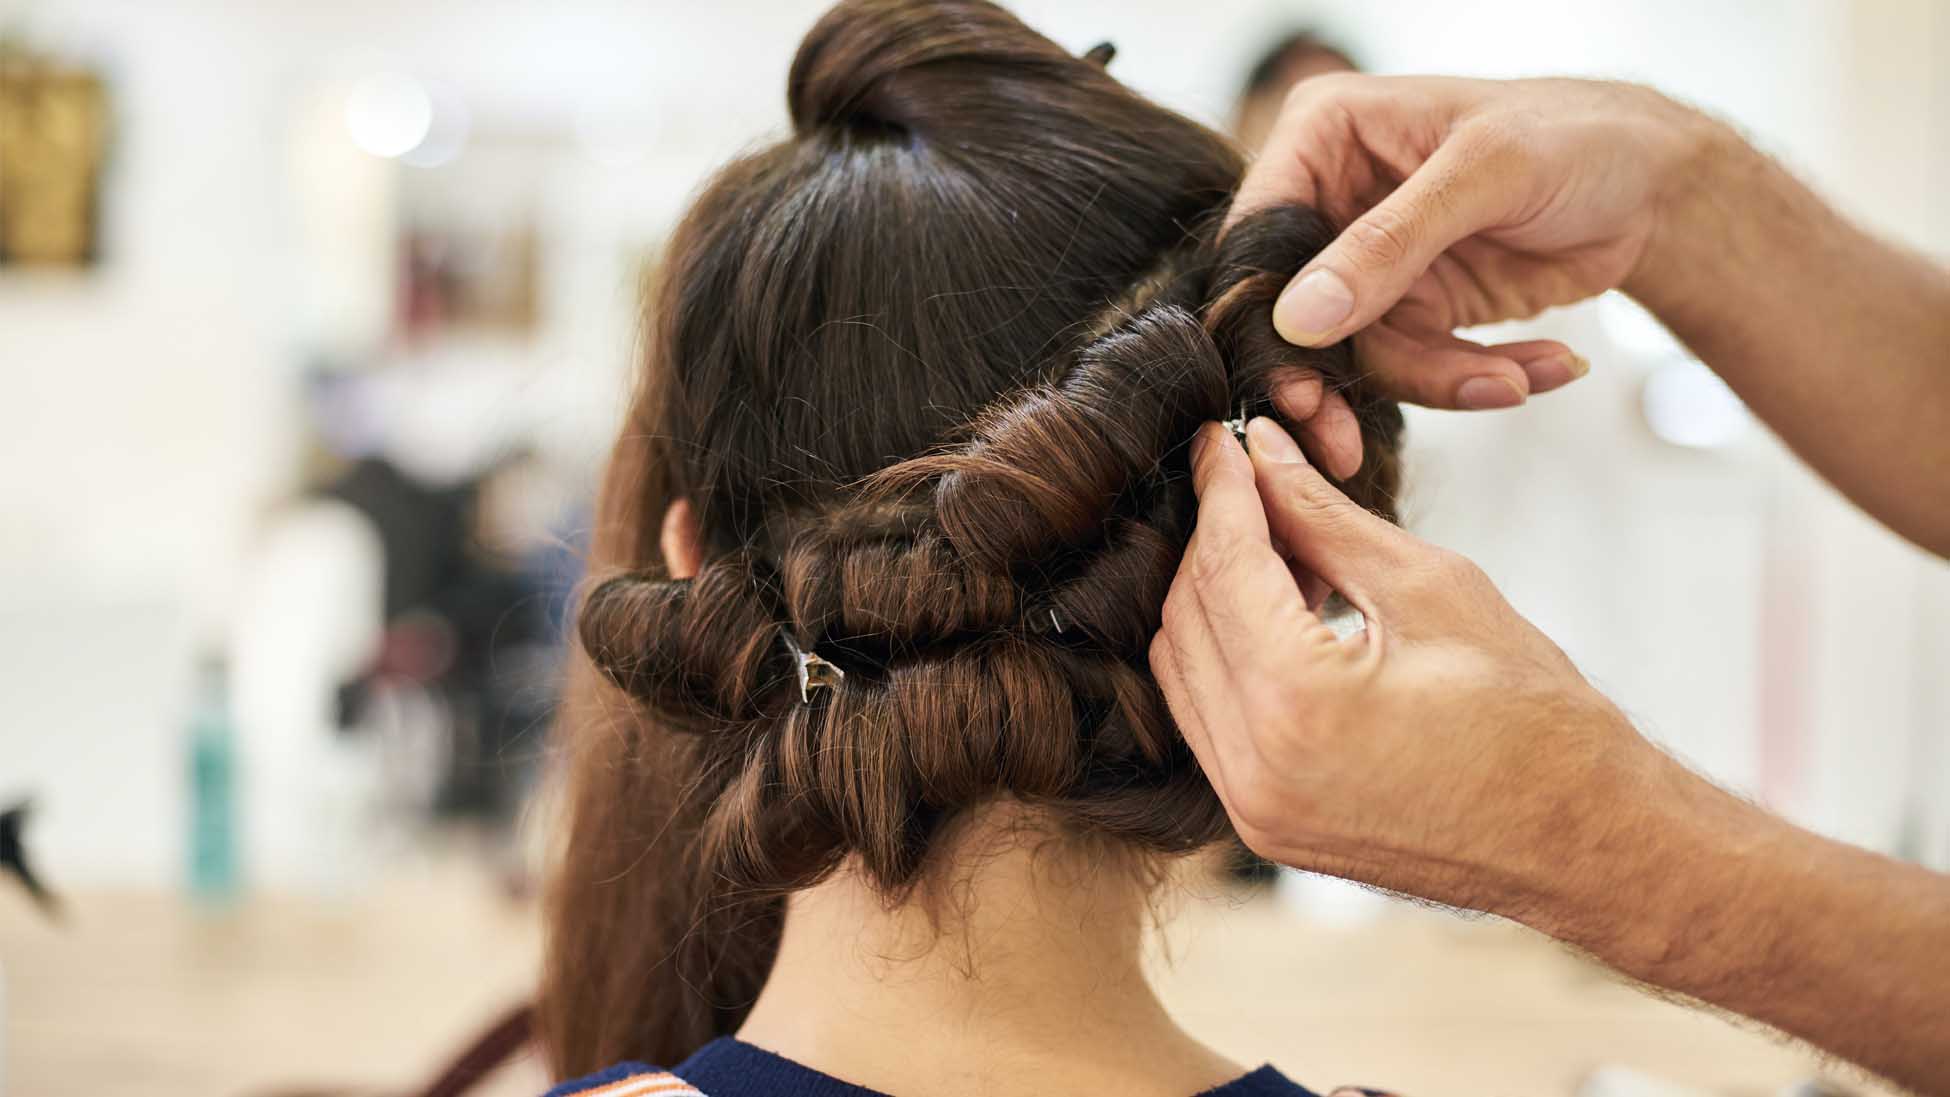
Want to show off a cool hairstyle you’ve created? Maybe you’re proud of the set of nails you did for a client? They are great are showcasing your hard work in a gorgeous way. Your photos will become an inspiration to those that crave beauty content.
If you’re taking a photograph of someone’s hair, then make that the main focus.
Lifestyle Photos
Lifestyle photography aims to capture people in real-life events in an artistic manner. It’s sometimes called the art of every day as the goal is to tell stories about people’s lives or to inspire people at different times. It’s something that you can do with your photos for your salon.
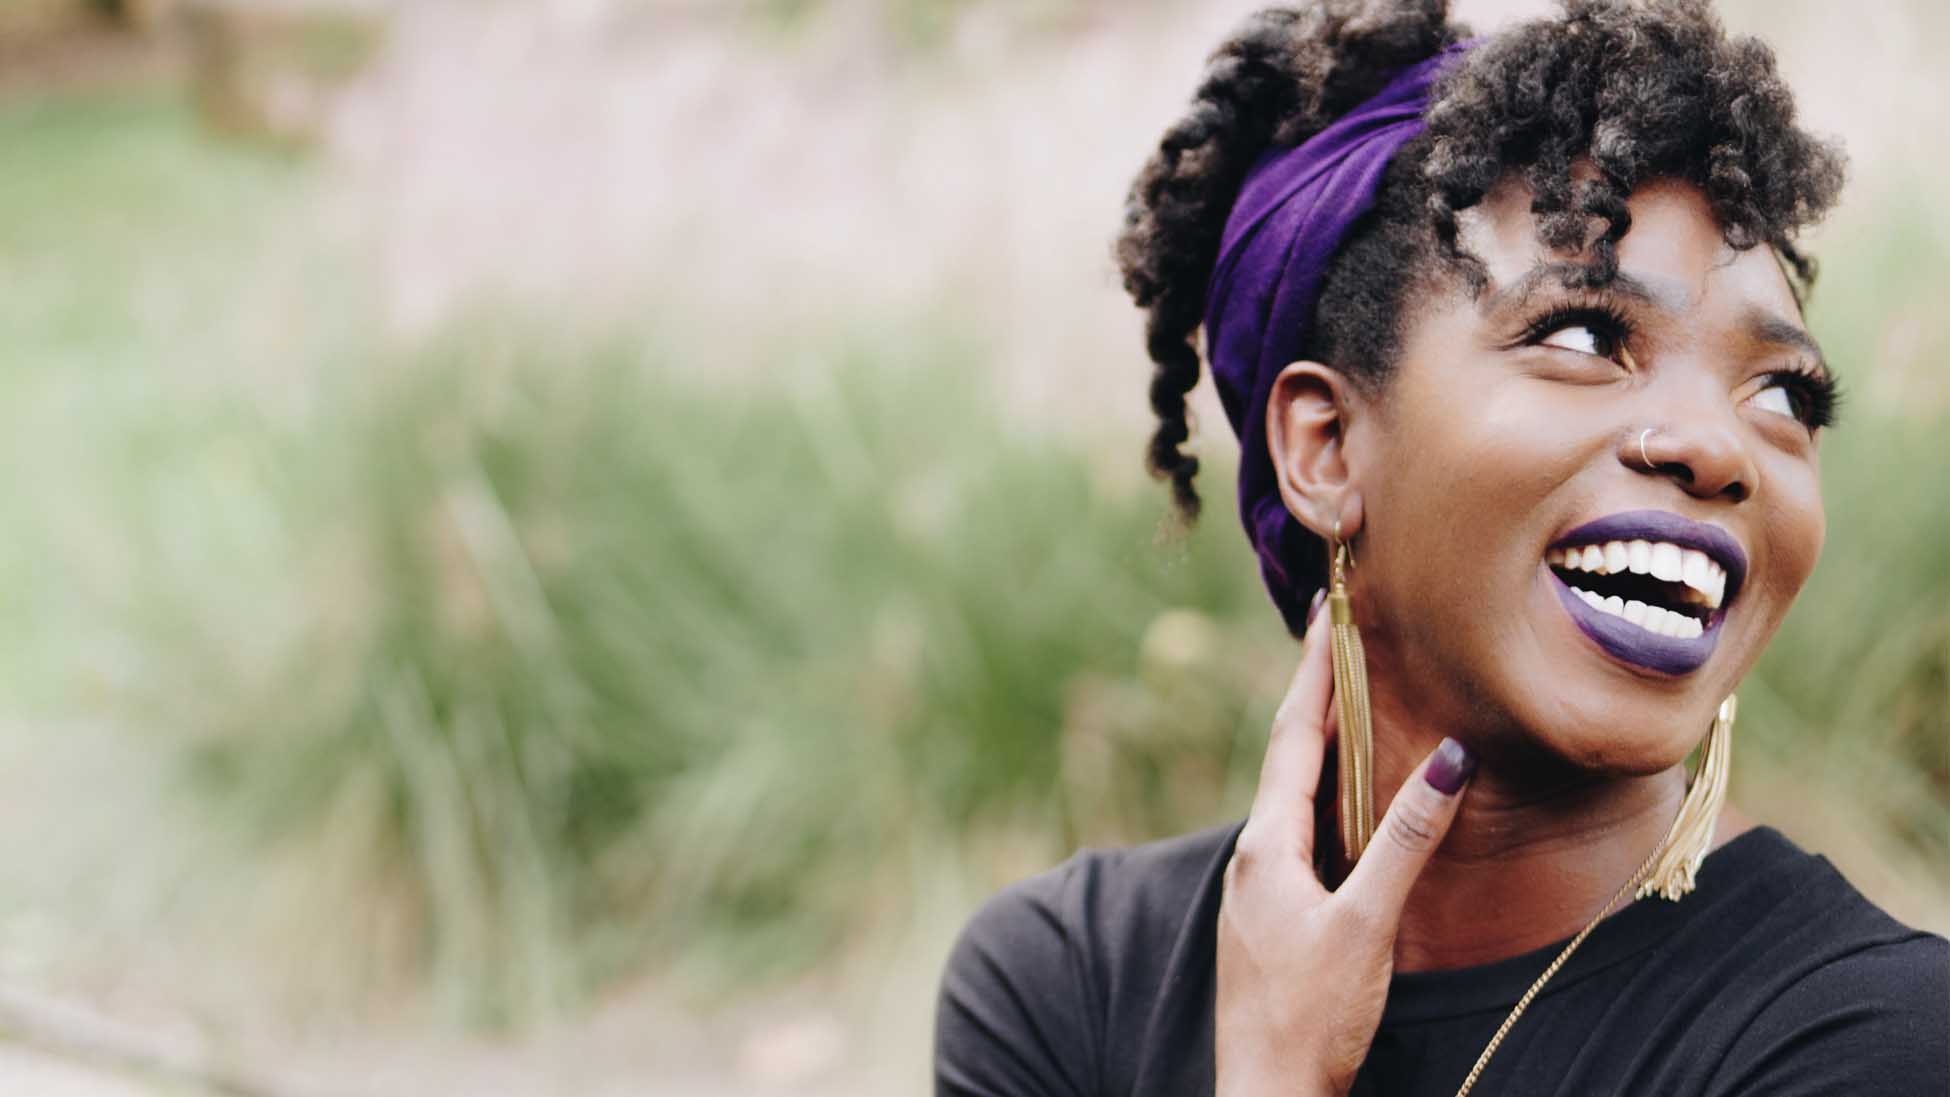
You can capture photos of people rocking your looks. It will provide inspiration for beauty ideas that can be worn day to day. Lifestyle photos are perfect at taking the glitz and glamour out and allowing customers to see how the styles can be worn. It’s why we see more fashion retailers take lifestyle photos rather than just on mannequins.

Image credit: @instylebycrystalk
Before and After Photos
One of the most important types of photos that are great are before and after photos. They’re especially great for hair stylists to show off colour corrections, aestheticians showcasing before and after specific treatments, and more. People love seeing the final results that salons can accomplish.
Think about it this way… are you more likely to go to a salon that has a great portfolio to prove that they can do colour corrections or proper laser hair removal treatments? Or a salon that merely relies on claims?
It’s your way of saying, “hey check out what I did—I can help you create this look as well”.
Broad Photos
This can include anything from a snapshot of the outside of your salon to photos of your team members. They can also include promo graphics and whatever don’t fit into the other categories above.
Where to Find Inspiration for Your Photos?
The best places to find inspiration for your photos are to either look at your favourite brands or browse through social media. Instagram and Pinterest are great visual platforms to find inspiration for your salon photos. There are millions of photos that will spark some inspiration for you.
Save the photos you love and make a short list of the ones that really catch your eyes. See what those photos have in common so that you can recreate the looks for your own salon photos. It’ll also be trial and error, playing around with what you have and what you can achieve. Combine the tips listed in this guide and see what you come up with.
Branding Your Salon Photos for Your Salon
Your photos will represent your salon and brand so you will need to figure out how to brand the content. Now, this doesn’t mean to watermark everything, but your photos and content should follow a consistent theme.
To determine how you want to brand your photos, here are a few questions to ask yourself:
- What colours does your brand consist of?
- What type of image do you want to pull off?
- Who is your target audience?
- What are the current trends in the beauty industry?
- What message do you want to be delivered to your audience?
After determining the type of look you’re going for, let’s break down a few photography tips and tricks to help you take better photos for your salon.
5 Easy Photography Tips to Take Better Photos for Your Salon
Smartphone, DSLR, or Mirrorless Camera
You don’t need an expensive DSLR to take high-quality photos for your salon. Thanks to smartphones and their high-resolution cameras, you can take photos straight from your phone. We’ve seen a ton of beautiful photographs taken right on an iPhone.
If you really want to take the extra step, then a DSLR or mirrorless camera is a great investment. For up-close shots and great depth of field, try using a macro or prime lens. Don’t worry, a similar look is achievable on the iPhone with the portrait mode.
You shouldn’t have trouble finding a device that can shoot high-quality, crisp photos. Just be sure that they’re not blurry—take multiple shots if you need to.

Image credit: @mlashbar.pro
Lighting
Natural lighting is the way to go if you want well-lit photos and colours to be true to the eye. We recommend taking photos during the day when the sun is out. If the sun is too bright, then play around with the brightness or shutter speed on your device to avoid overexposure. Don’t worry if the photo doesn’t look the way you hope because a lot of the work happens during post-production.
If it’s difficult to get natural lighting, then you can consider using artificial light. You can purchase a set of box lights or a ring light to help brighten up your shots.
Composition
The composition is the placement or arrangement of visual elements in photography. Subjects within photographs are arranged with conscious thought depending on the context to create the final piece. Try referring to these compositions as guidelines when you’re shooting photos for your salon can make all the difference.
Rule of Thirds
One of the most popular composition guidelines is the Rule of Thirds. Imagine dividing the frame into 9 equal rectangles; 3 across and 3 down like a grid. Many cameras and smartphones have the capability to display the grid in live view mode.
Now with these grids in place, the idea is the place the subject where the lines intersect. Placing the subject off centre using the Rule of Thirds will lead to a much more attractive composition than to just shoot head-on.
This composition works well when shooting most subjects. It’s one of our favourites.
Symmetry
If you were to shoot head-on, it works best if there is symmetry on both sides. Just imagine a line going straight down the center of the image. Both sides should ideally reflect one another.
The symmetry composition works particularly well when shooting:
- The face after completing a client’s makeup look
- Back of the head after a haircut or colour treatment
- Hands after a nail treatment
Foreground and Depth
This composition occurs when there is a depth of field. In other words, it’s when the subjects closer to the camera are clear while the background is blurred out. Adding depth of field is a technique to give the photography a 3D feel.
In order to achieve this look on a DSLR or mirrorless camera, you will need to work with a larger aperture, such as f1.4-1.8, depending on how blurry you want the background to be. With a smartphone, you can tap on the subject to focus. It works much better if the lens is closer to the subject.
Negative Space
Negative space is another way of saying empty space. For a simple and minimal look, you can leave negative space around your subject. It will help viewers focus on the subject without any distractions while giving a sense of simplicity and minimalism.

Image credit: @glamandglitsnails⠀
4. Background and Props
The background of choice will depend on what you’re trying to showcase. If you’re deciding to shoot a photo of a client, then we recommend a clear background to avoid the viewer’s eyes from wandering off the subject. You don’t have to restrict yourself to a plain white wall. Try playing around with textures and patterns to add more dimensions. Just as long as the background isn’t cluttered with distracting objects.
The background will vary with lifestyle photos because it will depend on the type of look you’re going for. Have some fun with it! Take a few shots in different settings and see which one draws your attention more.
Other ways to add to your salon photos is to use props, particularly with stylized and lifestyle shots. Catch everything in action with hair tools, hands, beauty products, and more. We’ve been seeing a ton of salons and beauty entrepreneurs use plants as props to add warmth.
5. Post-Production
After you’re done taking photos for your salon, you’re ready to get to the post-production stage. This is where you can make adjustments to your raw photographs, such as brightening them up, or increasing the contrast.
To make things easier, you can directly edit your photos on your phone. There are a few photo editing applications you can try using, such as:
- Snapseed
- VSCO
- Afterlight
- Adobe Lightroom
You may also edit the photos directly on Instagram before uploading. To make your feed consistent, try using a similar theme for all your photos. This can be done by using the same filter for all your photos. Try to avoid using harsh filters that can drastically change the colouring of your hard work. Ideally, you want to showcase the true colours.
Put Your Photography Skills to the Test
Now you’re ready to start taking gorgeous photos for your salon. You have a foundation of what equipment to use, how to take your photos and the post-production process. We highly recommend you to plan out the photography process ahead of time as it will make things much easier.
What are your favourite beauty photography tips? We’d love to know.
Level up your beauty business
Have articles and high-quality resources sent directly to you
Try Jupiter now
Get started with a free 14-day trial


